How to Make an Outdoor Christmas Planter
We’ve been really embracing the holiday season here at Rockland and it seems like everyone is feeling extra festive this year! We kicked December off with a DIY holiday décor workshop to raise funds for the Hope Mission, and now we’re sharing a guide on how to make an outdoor Christmas planter.

When people think of decorating the outside of their home for the holidays, they often think of lights and blow up Santa's! But, why not bring the beauty of evergreens right to your front porch with fresh greenery! It's surprisingly easy to make a DIY outdoor holiday planter and the kids can even help!
Here's how to make a Christmas planter in 4 steps:
1) Choose Your Style
Find the right pot for your planter based on the style you’re going for. Do you want oversized outdoor Christmas arrangements on both sides of your garage? Or do you want smaller Christmas planters for your front porch? Once you know the look you’re trying to achieve, you’ll be able to choose a pot you already have or look for something new. Pro tip: Avoid using terra cotta or porous pots as our freeze-thaw cycles in Edmonton may cause them to crack.

2) Gather Greens for Your Outdoor Christmas Planter
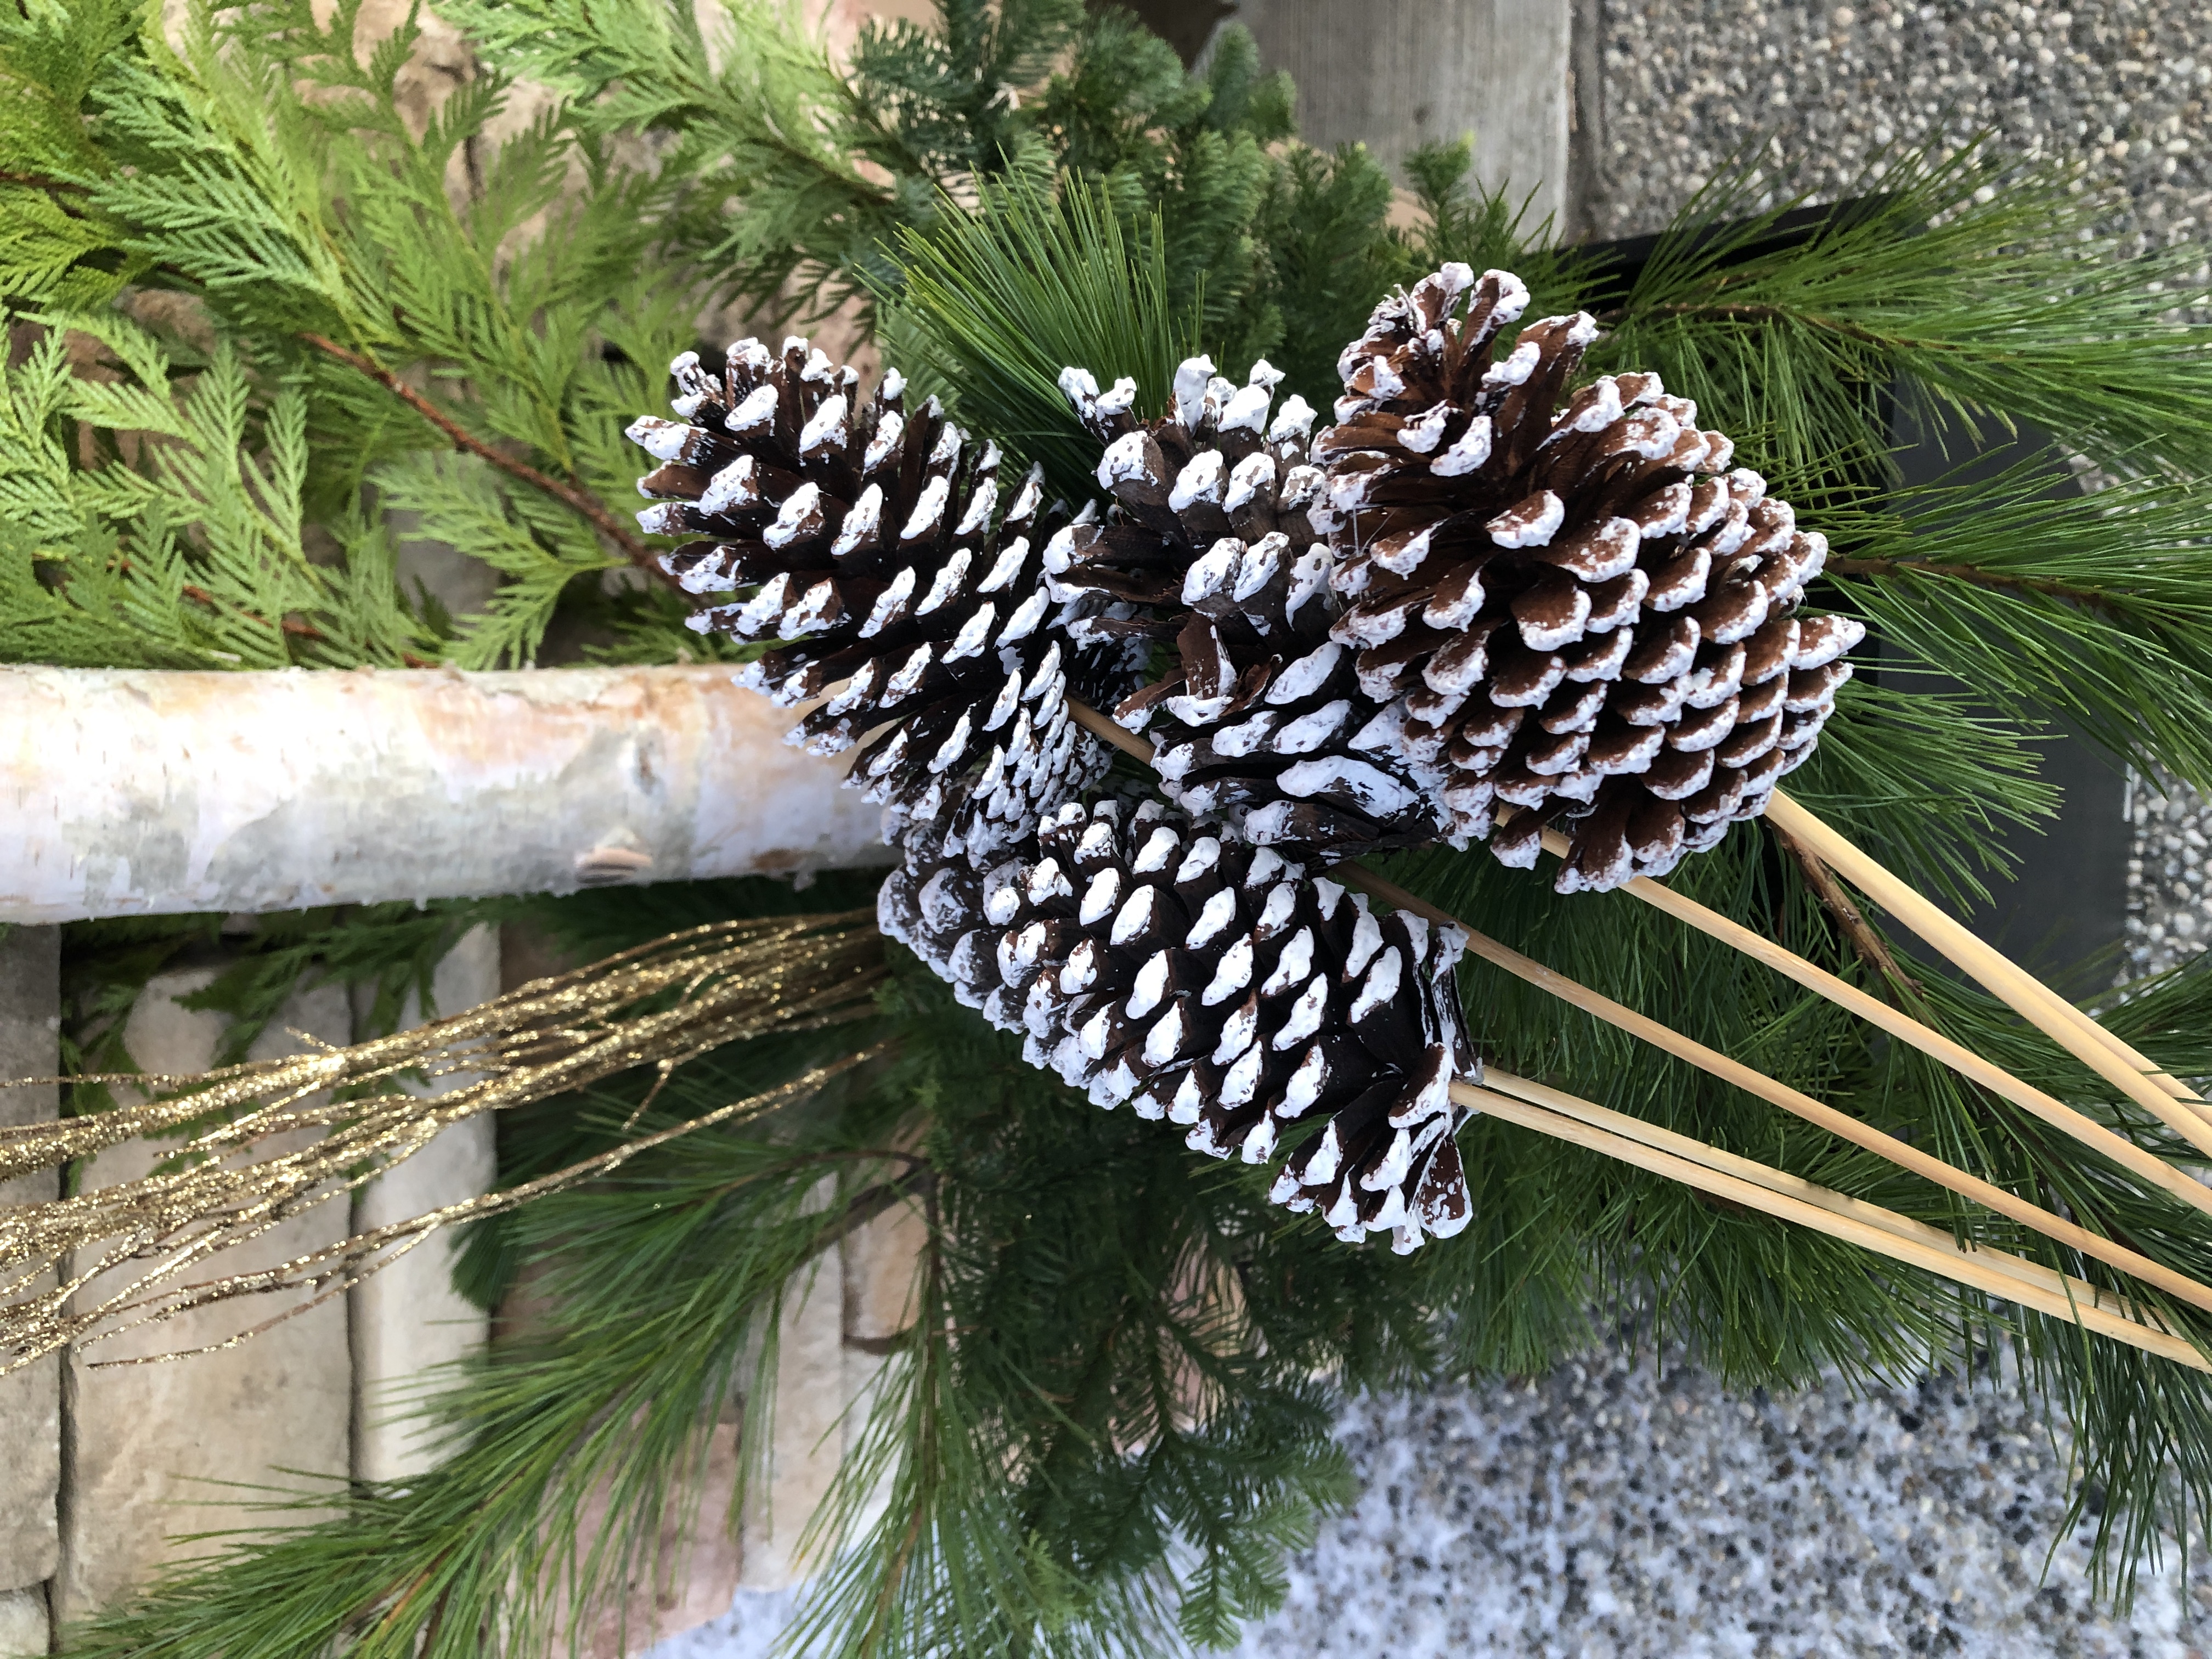
Branches from coniferous and evergreen trees or shrubs are essential for any holiday planter! Look for pine, spruce, cedar, holly, magnolia and more at local greenhouses or even Superstore or Walmart. Birch poles are a popular accent to use to add height and as an anchor for your Christmas planter. Add a pop of colour and interest with holiday décor items like pinecones, Christmas balls, sparkly twigs, berries, etc. These decor items can be found on sticks at craft stores like Michaels which will make it easier to secure in the potted soil. You can opt for a classic, neutral look or create an eye-catching planter with a little extra sparkle!
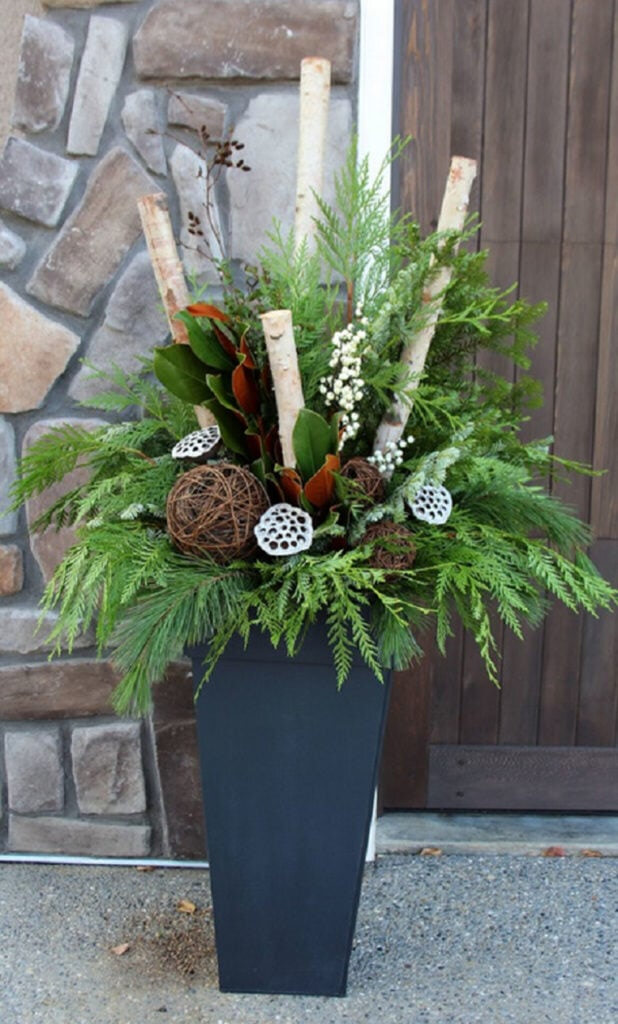
3) Bring It All Together
Fill the pot with potting soil and start by planting the birch pole (if you plan on using it) as deep into the pot as possible at the centre or back of your planter. Then start adding the greenery with the larger branches at the back. Plant tall twigs and then layer in the smaller, bushier boughs at the front and in between. Add your decor items like pinecones, holly, berries, etc. and secure in place in the soil or use wire twist ties at the base. Pro tip: If the stems of your greenery are short, we recommend using a floral foam to keep them in place.

4) How to Care For Your Christmas Planter
Once all items are in place and your planter is complete, water the planter thoroughly and spray the greens using a mister or spray bottle to freeze the greens. If the temperature is above zero, you’ll need to mist and water the greens every day. Your evergreens should last for the whole holiday season, if not longer, with the right care and attention.
Now, your holiday planter is ready to be admired by guests and any passersby! Tag us in photos of your planter over on Instagram.
Happy Holidays from the team at Rockland!